Using ADBLogger
Enhance your Android debugging experience with ADBLogger in Unity by setting up device connections and creating custom log consoles. This guide walks you through connecting your Android device and tailoring log output to your development needs.
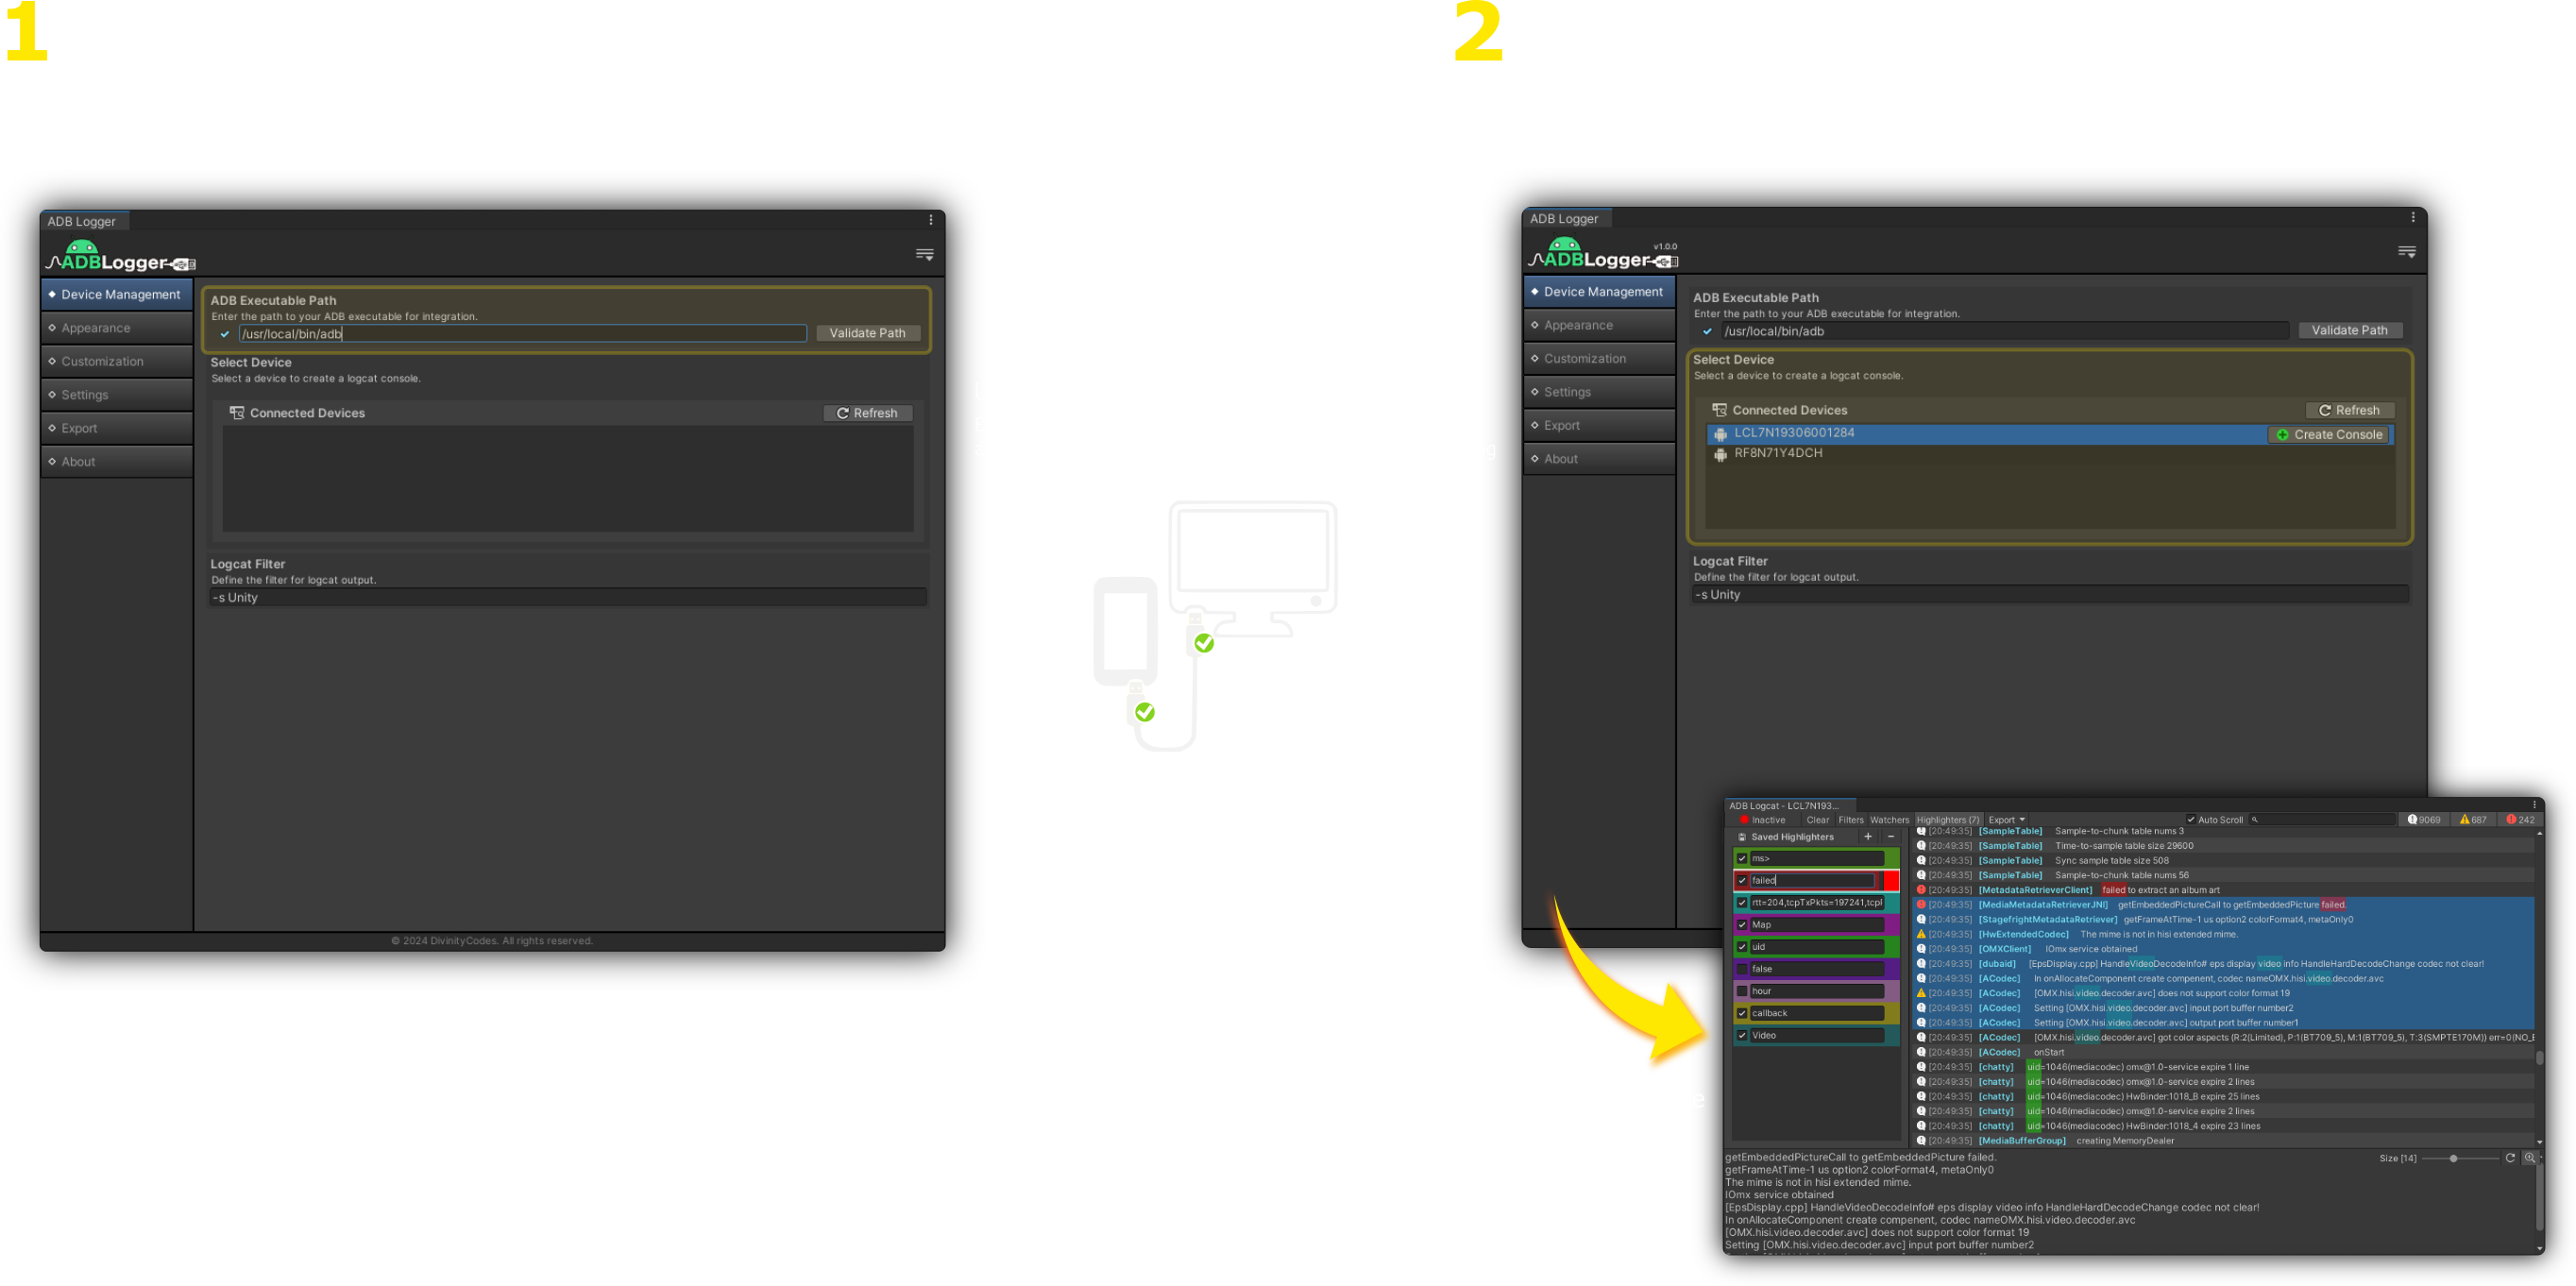
Setting Up ADB Path
ADBLogger automates much of the setup process, including detection of the Android Debug Bridge (ADB) path. When you first open the ADBLogger window, it attempts to auto-fill the ADB path based on common installation locations.
- Check the ADB Path: A valid checkmark next to the ADB path input field indicates a successful link. If the path is incorrect, manually enter the correct path.
- For detailed instructions, visit the ADB Path Setup Guide.
Connecting Your Device
Once the ADB path is configured:
- Refresh Device List: Hit the Refresh button in the Device Management category to load connected devices.
- Select Your Device: Choose a device from the list to focus on logs from that specific device.
Creating a Log Console
Creating a console tailored to your debugging needs is straightforward:
- Define Logcat Filter: By default, the filter is set to
-s Unity, targeting Unity-specific logs. Adjust this to include or exclude additional tags. - Create the Console: Next to your selected device, click Create Console to start receiving log data.
The console automatically begins streaming logs based on the defined filter.
Changing Filters
To change the logcat filter for all consoles, stop the active logcat session by clicking the Active button in the console toolbar, set the new filter in the main window, and restart the logcat from the console. New filters take effect only upon restarting the session.
For more on logcat filters and advanced settings, see the Logcat Management Guide.